Bind the USB Drive
You can complete USB binding and secure storage setup in only a few minutes.
1. Preparation
-
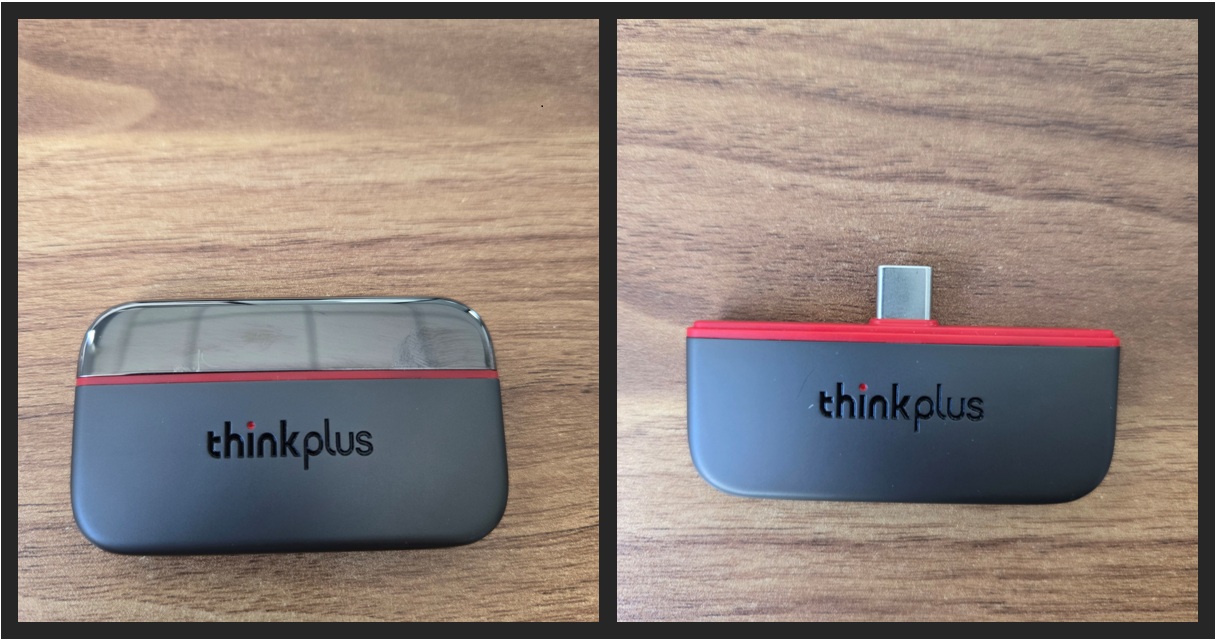
Prepare a USB drive or portable SSD that can connect directly to your smartphone.
-
A Type-C interface is recommended.
Example used in this guide:
Lenovo ThinkPlus Pebble 256GB Portable SSD
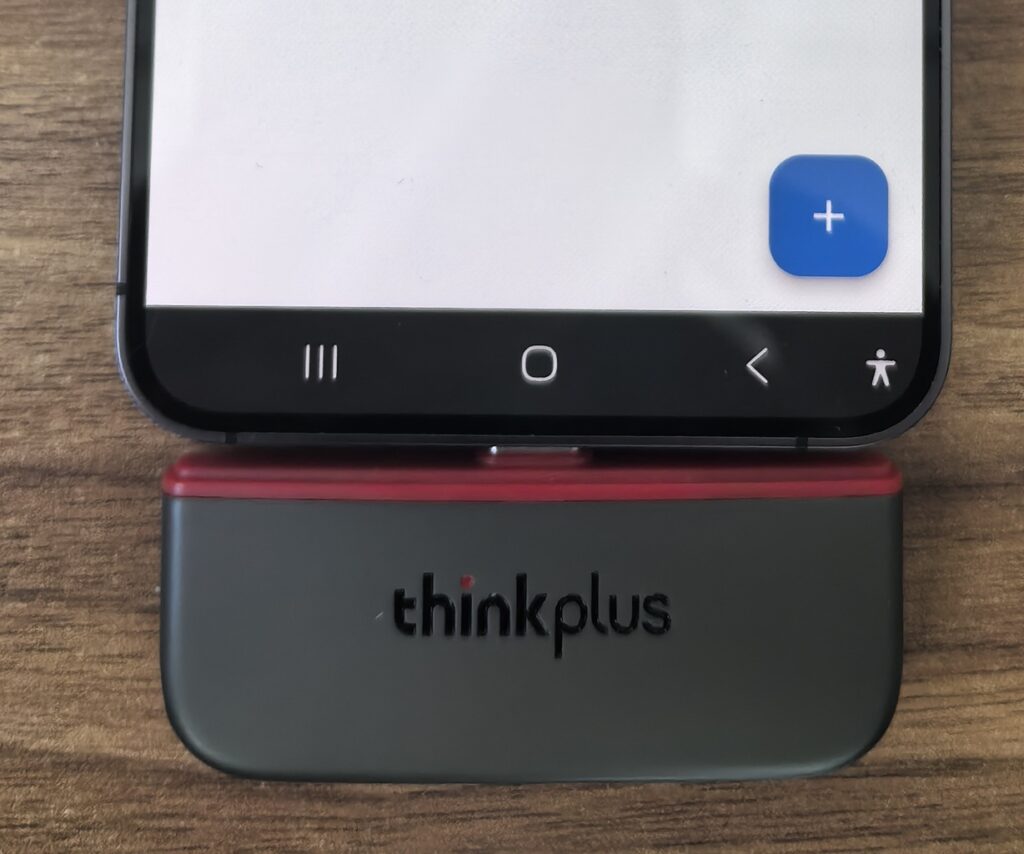
2. Connect the Device
-
Insert the USB drive into your phone’s Type-C port.
-
Open the Mobilink App.
- From the bottom navigation bar to the USB Drive feature page.
3. Log in to Your Mobilink Account
-
On the App home screen, tap the “+” button in the bottom right corner.
-
If you are not logged in, a login window will automatically appear.
-
Enter your email address → tap “Get Verification Code”.
-
Check your email inbox for the verification code.
-
Enter the code → tap “Confirm” to complete login.
💡 Tip:
If you want to access the same USB drive on another phone, you must log in using the same email account.
4. Bind the USB Drive
-
After logging in, tap the “+” button again in the bottom right corner.
-
On the pop-up page, tap the “≡” menu button in the top left corner.
-
Select the inserted USB drive (for example: thinkplus).
In the folder selection screen:
-
Make sure to select the root directory of the USB drive.
-
Do NOT select a subfolder.
-
Tap “Use This Folder” at the bottom.
When the system authorization dialog appears:
-
Tap “Allow” to grant Mobilink permission to access the USB drive.
5. Binding Status Explanation
If the USB drive has already been bound to another account:
-
A message will appear:
“You do not have permission to access the encrypted data on this USB drive.”
If it is a new USB drive, or already bound to your current account:
-
The USB drive ID will be displayed.
-
Status will show: “Connected”.